lördag 31 mars 2012

Renovate Or Evacuate

Did some encouraging progress on the Vard fork internals today; getting the first leg apart took 5 minutes, getting the second one apart took 5 hours. That’s the cool thing about old stuff, there’s always a risk involved... 


Notice the focus on the indicator needle; that focus means that in some miraculous way I managed to get the fork leg perfectly straight, if the leg was bent, even just 0.5 millimeter - the needle would be blurry. I know because I tried to cheat and get a photo of it before it was 100% straight and the needle would come out blurry every time, so I had to spend some (a lot) more time tweaking it before the focus became as preferred.


After glass blasting, heating, tweaking, wet sanding and polishing this is how happy it became, in the previous post you can see how crusty the legs were when I got them.


And here’s the leg after its final assembly, I just have to change the o-ring on the bottom part and it’ll be back in business. I just had to parkerize the spring while I was at it and I don't want to hard chrome the legs because that's not how they came from the Vard factory, so I gave them a real greasy polish and then I'm just going to WD-40 the upper legs from time to time, besides, the fork covers cover up the eternal upper legs so they won't be exposed to the elements all that much. The next thing I'm going to take care of is getting the tolerance inside the threaded top collars on the sliders just right against the upper fork legs. But for now, I’m going to drink heavily and listen to the Pogues - but I'll be back, hopefully...

fredag 30 mars 2012

It Takes Balls To Navigate


A very long time ago, back when ‘close enough’ was ‘right on point’, back when we Northmen still used alcohol, mushrooms and Sextants to navigate by the stars when setting sail out to sea, when Astronavigating drunks went berserk on barbarian crusades 365 years a day…


Back then there was a brighter group of men on the other side of the planet that used a way more refined method than our celestial system to locate their ships latitudes. I’m talking about the Polynesian Islanders of the South Pacific, and they certainly did not use Sextants or any other star reading device to navigate, they used their testicles.


Testicular navigation is the art of dipping your scrotum below the surface to sense the motion of the ocean and by doing so being able to navigate to your location. Now that sure is a heavy cultural art form that shoots way beyond any man made material apparatus.


Human and nature, ocean and island - full contact forever, the way it’s supposed to be. But I admit, I love human made material too, like Vard forks and alcohol and complicated hydraulic fork internals.


I’m just about getting ready to start a complete rebuild of this Vard fork. Notice the brake mount on the left side fork slider (second & fourth pic), that’s how the H-D Vards are set up. The Indian Vards had the brake mount in a bit different location and on the right side fork slider. In the last pic you can see an original Vard brake arm that has been chromed at some point in time, a shimmering and rare little piece of history for sure. This fork is so big and clunky and it’s got to be the heaviest fork ever made, maybe not quite as heavy as Polynesian testicular navigation techniques, but hey – close enough, the way it used to be.

onsdag 21 mars 2012

Remembrance of Things Past

Just a couple of charismatic scans from the January 1951 issue of Motorcyclist...


M.C.M Competition Pipe


Thoro Speed Shift - the latest in Foot Shifts.


Avon - a tire for every need...


The Vard - America's lost motorcycle.
I scanned the ads pretty big so please click and save, the Vard article is a good read, can you believe it - finally a good read on RHS!

tisdag 13 mars 2012

I've Got Blisters On My Fingers!


Everybody's got something to hide, except me and my monkey. This post has absolutely nothing to do with motorcycles. But it has everything to do with music, and without music there would be nothing at all... So, I guess that makes me wrong about this post having nothing to do with motorcycles? Here's a bouquet of wooden tools all made way before I was born, the Les Paul Gold Top would be the obvious choice because of James Williamson but the 450 is my favorite. Fred Smith didn't play a regular 6-string Rickenbacker 450 during the late MC5 / Sonic's Rendezvous era, he played a 450-12 that he pulled 6 of the tuners from and used as a 6-string. George Harrison on the other hand kept all 12 tuners on his Rickenbacker 450-12.


I've been spending a lot of time in our studio lately, we built this studio here in Stockholm to have a place to experiment, rehearse and drink uncontrollably back in the mid 1990's and we have been playing and hoarding old amplifiers, instruments and various types of hangovers ever since.


This 1966 Ampeg AEB-1 is my personal favorite bass guitar of all, a total of 1150 ever made between 1966-68. Billy Wrath, Rick Danko and George Biondo are a few of the people that were in touch with the magic of the Scroll Bass way back when...


Bungalow Bill, what did you kill? I think the Beatles are underated as a band considering how good they really were at creating music 1965-70. The golden age of VOX are from 1957 through the end of the 1960's; the JMI-era, when Dick Denney and Thomas Morgan still ran things.


Let's drink to the death of a clown, VOX Teardrop, Stereo Phantom XII and Tempest XII, Dave Davies sings way cooler than his brother Ray, and he had better taste in guitars too. The Kinks slayed The Hollies on so many different levels and even though you must still give props to Tony Hicks for playing almost every style VOX guitar, the #1 all VOX band of all times must've been Paul Revere & The Raiders.


Music in sea minor; VOX Grenadier 4x10" PA Columns made Captain Beefheart & his Magic Band sound real crisp on the beach of Cannes, France, 1968-01-27.


Ampeg Dan Armstrong 1969's and right behind them you can spot a dual neck Danelectro Barriton guitar. Greg Ginn vs Sky Saxon. Dan Armstrong was a genius; he used to build custom pickups for Sterling Morrison and Lou Reed before he came up with his own plexi design with the interchangeable pickups, a guitar Keith Richards used during the Stones concert in Altamont 1969.


The tone of a 1960's Gibson Hummingbird makes dark times in life seem just as absent as Brian Jones during the Gimme Shelter sessions. Paul Simon, Arthur Lee, Keith Richards of course, but also Dick Taylor made the best out of the Hummingbird. Dick Taylor was a childhood friend of Keith and one of the very first members of the Rolling Stones, but when Brian Jones joined the band he tried to force Dick to give up playing guitar and play the bass instead, so Dick quit the Stones and formed another of the greatest rock acts of ALL TIME; The Pretty Things.


If you ever get tired when 'everybody's talking' - like Harry Nilsson in 1968, I recommend this setup; Moog Theremin ran through dual Fender Twin-Reverbs and a Fender/Leslie Vibratone. If you ever huffed gas and got the audio-strobe oriented 'gas-helicopter effect' - this is what it sounds like. And you won't even have to huff gas, needless to say - it'll kill any conversation. I think there's a Theremin in just about every song ever used in every horror movie, Led Zeppelin used a Theremin live, The Beach Boys didn't - they used an Electro-Theremin which is a more controlled version of the original instrument, but still very cool. Brian Wilson is the greatest musician ever and everything good about the Beach Boys is because of him, well him and Denis. Ok well him, Denis and Carl, and even though Mike Love was the one who played the Electro-Theremin live I still have a hard time accepting him.


Somebody call Owsley Stanley!


The VOX Ampliphonic Galaxie was originally created for clarinets but 13th Floor Elevators used these amps for guitar on the 'Bull of The Woods' album. Tommy Hall rules, horizontal thinking. Selmer 1 X 18" 'crocodile' Treble & Bass cab, I couldn't seem to find its head - or my own. Cheers!!


The 'Boris the Spider' bass line require at least 200 Watts or it will sound like shit, actually any John Entwistle bass line won't sound right if played on something less than 200 watts, and it still won’t sound right unless it's played by him. The best part about the Who is – Everybody played lead.


1965 VOX AC-100 with early style 12" + 15" cab and original trolley, hi Paul McCartney and 1965 VOX AC-50 rig with a 1966 VOX AC-100 head on top. And if we succeed with not blowing up too many of these amplifiers we will have this new recording session finished real soon.


This is what I look like when trying to steal Ray Manzarek chord lines, I've been in bands on and off pretty much my whole life and the last band I was in is Henry Fiat's Open Sore, but we decided to quit recently and form a new band - this is our first recording, so it's basically into the great wide open at this point, I'll post up the music on here when we're done, until then - hold on to your white Brian Jones turtlenecks!

torsdag 8 mars 2012

VARD Frontend Installation Sheets

Jeff Baer the magnificent Knuckle Buster was kind enough to send me these installation sheets from the 1940's, pretty cool and useful stuff... I had to work the sheets in Photoshop for a minute since they were a bit hard to read, and to make sure all you grumpy old men with various vision defects can parcitipate in this ancient pergament interpretation I also re-wrote the text below each instruction sheet.


Installation VARD FORKS Harley Models 61 or 74
(Triple clamp illustration)
Flanders type rubber mount
Headligh bracket
(Fork assembly illustration)
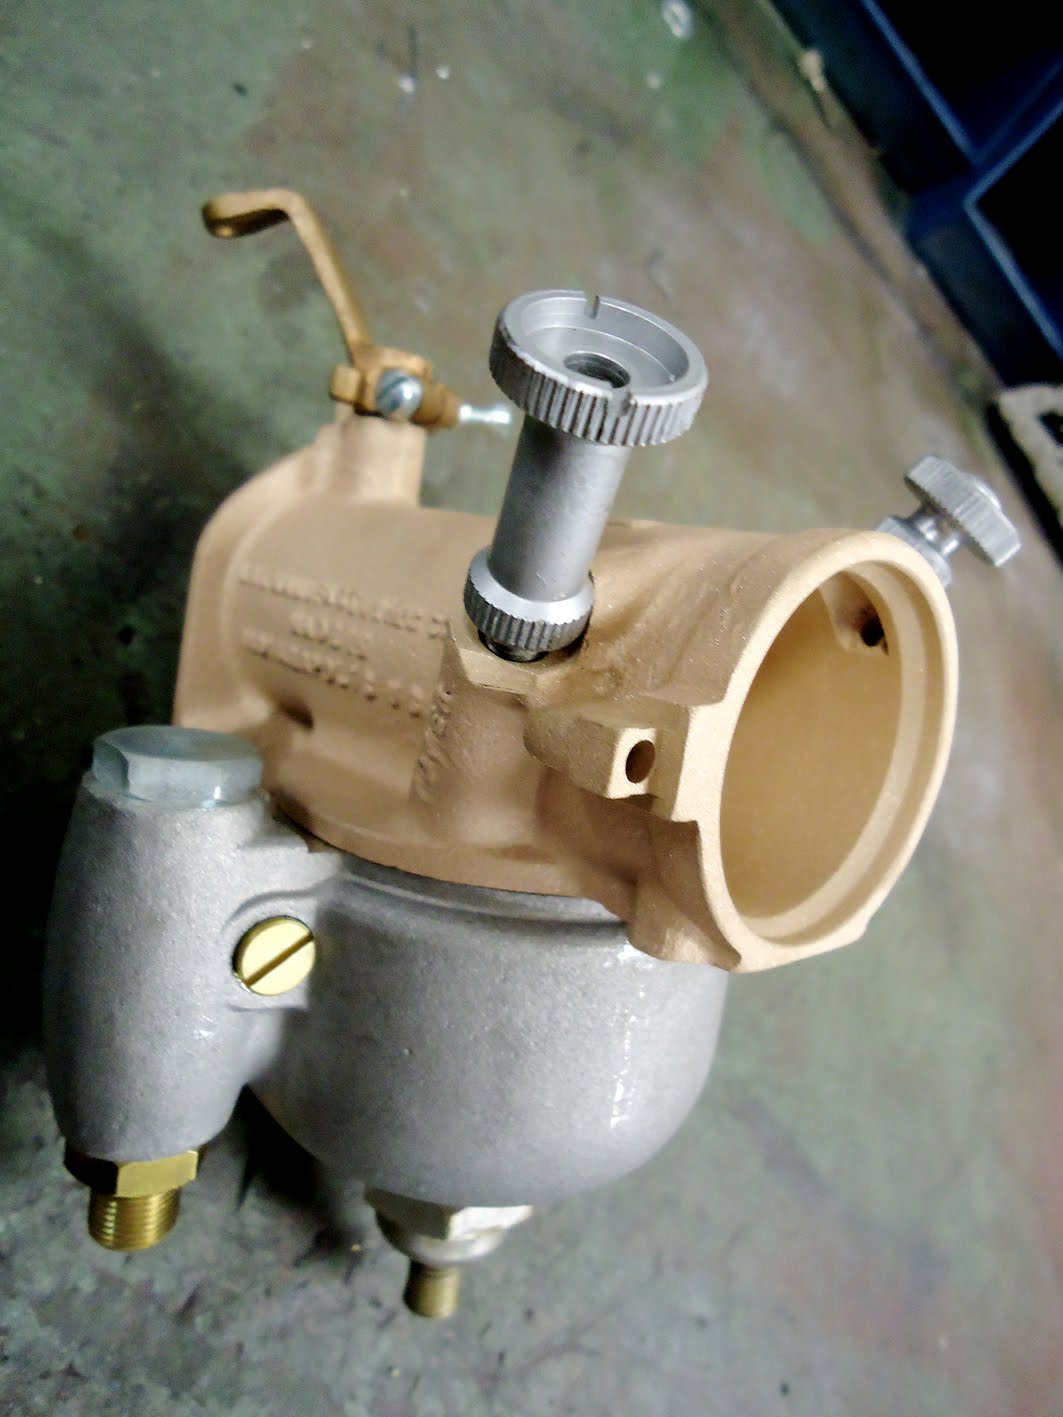
Oil filler caps, do not tighten excessively
Studs for stock Harley bars
Steering stops
(Axle illustration)
To remove wheel loosen this cap and unscrew axle counter clockwise to pull it
Brake rod
Brake Assembly
RH strut Vard adaptor nut
Axle Cap – tighten permanently
Harley sleeve
(Fender illustration)
Cut Cut
NOTE Check wheel position for being centered between struts
Do not lubricate brake rod or bushing - there’s no movement in the new position.


VARD TELESCOPIC FORKS
VARD TELESCOPIC FORKS are precision built to give long life, good riding, and steering qualities. Correct installation is of prime importance if you wish to get their full benefit. A few minutes spent reading these general instructions will pay ample dividends in riding comfort, pleasure, and FORK life.


GENERAL INSTALLATION INSTRUCTIONS
1. Care should be taken that the correct fork combination has been purched for the make, year and model of machine on which the installation is to be made.
2. If there are no facilities for raising the front end of the machine off the ground, such as a hoist, use two wooden blocks about 9” long and 4” X 4” square, and place under the front footboard hinge on each side.
3. Remove front wheel and brake assembly.
4. Remove old forks. 
5. Break down the VARD FORK assembly.
6. Using an old knife blade, remove from Harley forks the small ring at the base of the head stem and install on the Vard stem.
7. Place on VARD stem the lower cone and steel balls held in position with a heavy grade of cup grease. Insert stem and adjust top cone with the VARD adjusting nut. Do not use dust cover from Harley adjusting nut, as VARD top bracket serves this purpose.
8. Place in position the top bracket, and lock with VARD nut (In Indian Chief installations, on motors older than 1940, lock screw down on top of head stem to prevent working off threads)
9. Mount handle bars as shown in pictorial instruction sheets and place control cables in approximate positions.
10. Place dust cover over the top and bottom brackets. Be sure that the covers rest on the top bracket and not the bottom. This will avoid breakage of cover when tightened.
11. Insert the assembled struts up through the dust cover and lower bracket.
12. Insert and temporarily tighten oil caps. Caps will start engagement of threads, easily if tapers are not driven home tightly, previous to insertion of caps.
13. Remove caps and pour in 6 ounces of No. 10 S.A.E oil each strut. Tighten with approximately 30 lbs. On 12” wrench. Heavier oil may be used if conditions of operation so dictate. Fully equipped motors, i.e, spot lights, windshields, crash bars, etc., add considerably to weight on the front wheel, and in some cases necessitates the use of additional booster springs, the installation of which is discussed in paragraph 21. Larger quantities of oil do not give more dampening, and anything in excess of 6 ounces may cause leakage at the top bearing and at breather hole in filler caps. The struts must be in alignment before tightening the Allen screws in lower bracket. To check this, stand off to one side and see if the struts are in the same transverse plane. If not, tap one end of either bracket until correct alignment (continued on next sheet)


(continued from previous sheet) is obtained and tighten Allen screws, NOTE: Sequence of tightening forks: Tighten filler caps first, then lower bracket Allen screws, and finally the axle caps.
14. Assemble brake on left hand strut or in wheel as shown on attached pictorial instruction sheet.
15. Mounting wheel and tightening caps. Make sure the wheel is centered between struts. Never tighten cups, etc, with weight on front wheel unless the machine is in a vertical position. Tighten brake side cap: hold machine vertical, and pump up and down a few times. This will relieve any side binding of the struts. Then tighten remaining cap. A difference of 1/8” in cenering is not unduly noticeable when riding.
16. Brake Rod, croat care should be taken in attaching brake rods. A minimum of misalignment is the ideal condition. To check alignment, bolt brake rod to strut anchor with sufficient tension so that the rod may be just rotated. Rotate brake rod into approximate position and bend rod to fit. Check opposite end of rod by bolting strut and repeat aligning process. If the rod is not aligned, the brake plate assembly will be cocked to one side and the shoes will consequently rub excessively with normal handle bar setting of brake lever.
17. Mount fender and headlights as shown in pictorial instruction sheets.
18. The machine should now be ready for the road.
19. In checking for overload springs, sit astride the machine and have someone mark strut with pencil, or chalk, at lower end of dust cover. Then raise front wheel off the ground, and with fork fully extended, check measurement from pencil mark to dust cover. This should measure approximately 1 to 1-3/4 inches. If greater than 1-3/4 inches, overload should be installed. If less than 1-3/4 inches, DO NOT install springs.
20. Change oil every 10.000 miles. Remove small drain screws at base of struts, pump forks up and down until oil flow ceases. Refill with 4-1/2 ounces No. 10 S.A.E oil. Due to internal construction, approximately 1-1/2 ounces remain in reservoir which cannot be removed without disassembling fork struts. Do not flush out with solvents, as this will fill reservoir and dilute oil changes.
21. Installation of overload springs. Remove struts and disassemble by unscrewing plastic bushing in counter clockwise direction. Pull out strut from casing. Insert a ¼” steel rod or pin-punch in large cross hole and wind spring back to relieve any load on lower bearing. Take a large screwdriver and remove cap screw from end of strut. REPLACE these steel spacer rings with overload springs, (purchase from factory or dealer). DO NOT USE BOTH. Then reassemble struts.

So there you have it, please click and save, they are pretty big scans, now let's keep those Vard Forks on the road!

måndag 5 mars 2012

VARD INC.


The VARD Company produced landing gear components for the US Air Force during the WWII and among their employees you’d find Earl Flanders himself (yes that Flanders) along with several members of the Pasadena Motorcycle Club, Est. 1907 PMC are today the third oldest MC club in the US, however - together these young visionary, brave and dedicated motorcycle riders decided to produce the very first hydraulic frontend for Harley-Davidson’s and Indian motorcycles; the VARD Frontend. A frontend that because of its clean looks and hydraulically damped ride became popular among MC riders and custom builders of the day, and also commonly seen in dirt track and TT racing etcetera…


Earl Flanders / Pasadena 1946 / Photo / Robbin Scroggie / Bikernet

Produced in the VARD Plant in Pasadena CA somewhere in between late 1945 - early 1950’s this magnificent frontend with its amazing cast Manganese bronze triple trees and cutting edge hydraulic fork legs sure portrays the holy grail of vintage parts, close to impossible to find and with a price tag that’s been heard to penetrate the 5 digit $ range they certainly have become more of a delicate museum ingredient than a young man’s choice of a cool and functional frontend.
But keep in mind, the intergalactic eight ball haven’t fallen into a black hole just yet, this entire game is not finished, because the wheel's still in spin. And besides that - sometimes the cosmos can still 'smile at you’… Finding a Vard frontend is a story that for me includes episodes that’s synonymous with Bob Dylan’s All Along the Watchtower:
“Businessmen, they drink my wine, plowmen dig my earth,
None of them along the line know what any of it is worth"


My search for a Vard Frontend with a Harley top tree began long ago, and over the years gone by I’ve came across some very knowledgeable people, some very friendly people but also some very greedy, lying and directly dishonest people. So, it’s been a long, stressful and overall emotional battle to say the least, but hey - nobody likes a quitter..

"You say it is the good cause that hallows even war?
I tell you: it is the good war that hallows every cause"
- Friedrich Nietzsche


A very reliable, friendly and knowledgeable source in Tokyo told me it’s not uncommon that people look for 10+ years before finding a Vard fork, and I have no reason to doubt it. However, last week my search came to an end. I finally found my Vard fork.
The Vard frontend is a thing that means more to me than any other produced motorcycle part on the planet and I want to send out my deepest and sincerest gratitude to everyone from all over the world that helped me out along the way; answering my questions, replying to my emails and to everyone who stayed on the phone with me listening to me speaking English sounding like Kevin Costner with a Swedish accent, really embarrassing... Everyone from Japan to Europe to all across the US, I thank you all.
But most of all I want to thank the talented individual and knowledgeable motor historian who didn't only teach me a lot of cool facts regarding the history of this frontend but also finally choose to offer me the Holy Grail, this man surely wouldn’t need no introduction on here but out of respect and to save him from getting flooded by people wanting to 'buy stuff' I choose not to mention his name, however I am forever indebted to you and I'll take this Vard with me to the grave.


Article form Easy Rider early 1970’s:
"Better lay low, bro’s. Spider lost a bet yesterday – to none other than Ronny, the snotty-nosed office boy – so things are a little squirrely around the shack. Spider, who usually knows his old timer stuff colder’n a frog belly in February, claimed halfway through the last juice session that Harley had produced the first American-made Glide. Well, snot-nose knew better, ‘cause his ol’ man’s uncle had ridden an Indian just after the war, equipped with a thing made by a company in Pasadena, California, called a Vard – and he even dug up some musty old ads to prove it. The Vard was an accessory tube front end you could buy for either Indian or Hog to replace the then-standing stock Springer. It was introduced in 1946 and production continued until the early 1950’s. H-D went to their Hydra-Glide in 1949, so most later Vard’s were bolted on to Indians, which stuck with their Girder except for the last year, 1953. In fact, there is a persistent rumor that the tele forks fitted to those late Indians were of Vard design. Actually the Vard forks are much more similar in design to the early Hydra-Glide, leading some to wonder if H-D copied a good thing when they saw one.


The dudes who made the Vard produced primarily landing gear components for WWII airplanes, but they were secretly motorcycle freaks at heart. So after the war, they pirated the BMW telescopic front end and used their additional knowledge of hydraulic systems to develop an oil-damped fork, with steel main tubes and lower sliders (1). Manganese bronze triple clamps (2). And cast aluminum upper fork shrouds (3) – which were removed on a bob-job of those days. They even went so far as to design a complete scoot, a little 350cc single, but never constructed more than a few prototypes.
The Vard forks had some shortcomings: suspension travel was limited by today’s standards (although longer than most Springers), and the trees were a little thin to withstand a lot of rough treatment. But the clean looks and hydraulically damped ride, which we all take for granted now, made the Vard popular among the custom bike builders of two decades ago. The few Vards that are still left usually molder away in a basement or are overlooked in the search for XA Springers at the swap meets. If you decide to add a little 1940’s class to your scoot, just remember that those bronze trees aren’t beefy enough for much of an extension! – Jake"


Keep Your Wheels On The Ground
"The Vard fork will improve both the riding and steering qualities of any standard motorcycle to which it is fitted. Every owner of an Indian Chief or Scout or Harley-Davidson 45, 61 or 74 will want one. These forks can also be adapted to any other make of motorcycle. Made of highest grade cold-drawn, seamless steel tubing – the whole fork assembly is strong and cleanly designed, a fine addition to any motorcycle. It permits the use of standard fenders, lights, horns, and is useable with standard handlebars, risers or Flanders bars. Forks can telescope a full 3.1/2 inches under shock and recover instantly. This feature keeps the front wheel on the ground at all times"

torsdag 1 mars 2012

Classic Racing Linkert Fabrication

This is a carburetor build for the Flathead true believers.


Today I finally did something I’ve been wanting to do for quite some time, yes I’m talking about having breakfast at McDonald’s. After that I skipped work, went straight to the garage, loaded up the stereo with 'Madman Across the Water' on repeat and dug out a good 3 bolt Linkert housing to modify into a classic Flathead Racing Carburetor.


After being glass blasted - just see how glad it became ...Little did it know it would be decapitated in only a few minutes.


You can get Linkert nozzles at most places but since my eagerness was of equatorian proportions I cut my own on the lathe / mill, besides there’s some mods ‘n tricks done to this one that couldn’t been done to a stock nozzle.


Are we having fun yet..?


Milling the nozzle tip at an angle is a classic Linkert racing mod, just look at it! Holy shit this one will never run under 3000 RPM!!! Perfect.


This is what the nozzle looks like after being milled and drilled a bit, OHV style but the tube has a different ID from the stock one and after this pic was taken there was a few more ‘adjustments’ done to it, however they are of a more secret nature.


We need all the air we can get here so the carburetor housing had to be CUT DOWN, the choke ‘housing’ part had to go, this is the way dragracers used to do it back in the glory days when I still was dead waiting to be born, cool ain’t it!? Glory Days by Bruce Springsteen, great song...


Here it is finished, just look how compact the proportions get without the choke part, completley rebuilt with Rubber Ducky float, nos throttle disc, new needle and seat and the venturi drilled out to a maximum. So, there you have it, or at least some of it - how to build your own classic Racing Linkert, or more frankly; how to turn a stock Linkert into a giant petcock while listening to Elton John...